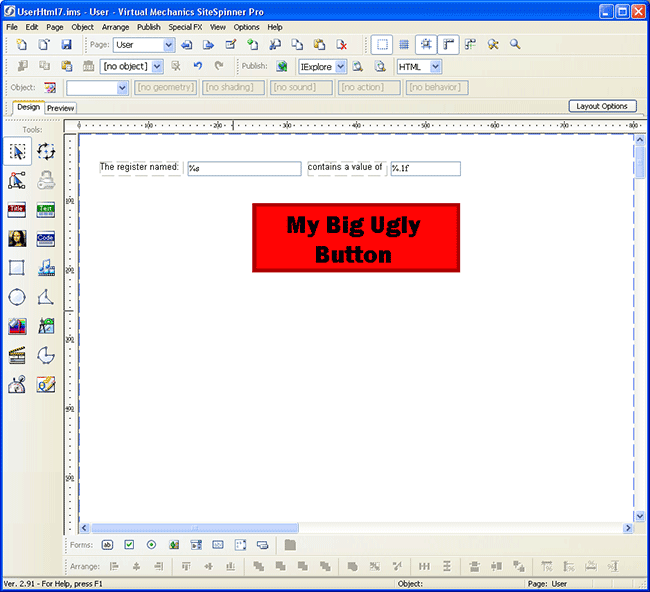
Demo web #7: This tutorial illustrates how to use a graphic image as a submit button on your custom web page.
Open your SiteSpinner project from Demo #2, and "save as" Demo #7. Now delete the original submit button named "Change". Locate the graphic (such as .gif or .jpg) file you want to use as a graphic button. Click on the Mona Lisa icon to place the graphic. We're using a big red "ugly" button in our example.

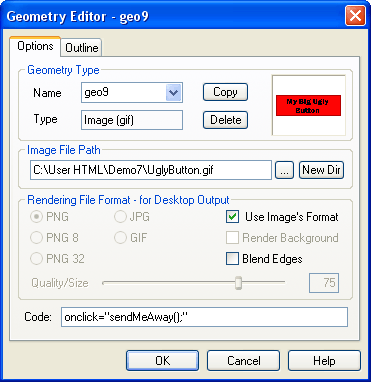
Once placed, click on the graphic, then click on the Geometry Editor icon on the left. The dialog shown below will open. The special "trick" to add here is the code onclick="sendMeAway();". You guessed it, we do "sendMeAway" when the graphic is clicked. But before this will work, we need to create "sendMeAway()".
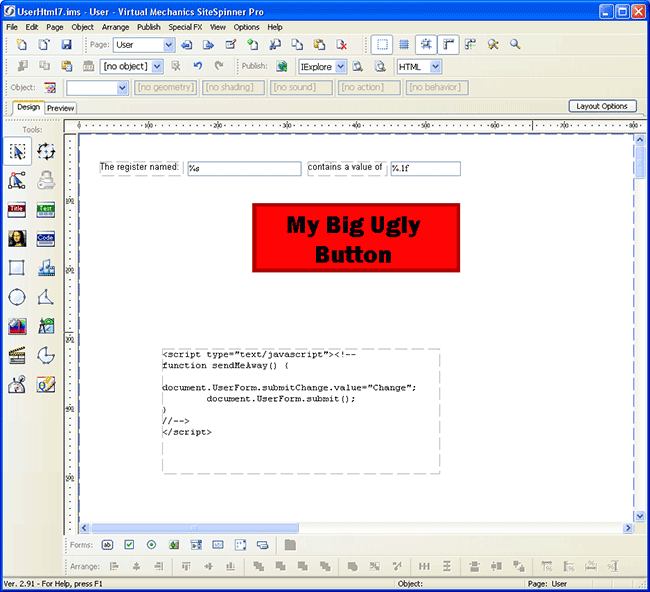
To create "sendMeAway()", click the Code icon on the left. Then enter the JavaScript shown below.
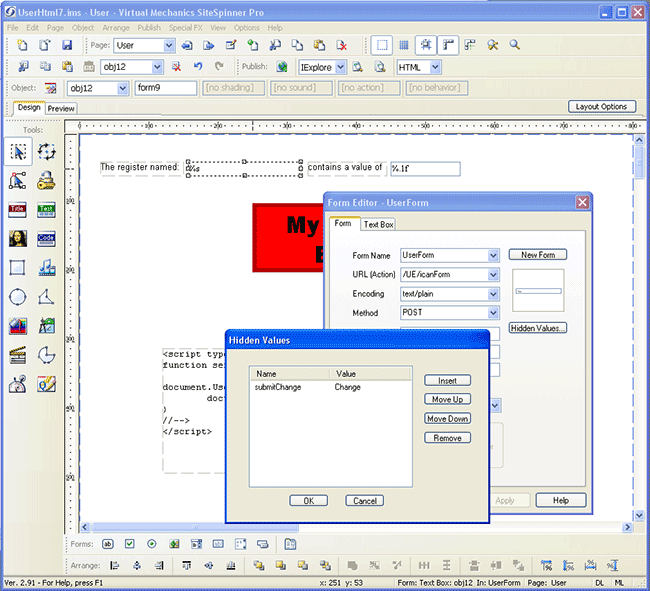
We need one more minor trick to make the click function work. We need to add a hidden variable named submitChange. To do this, click on any form object, and then click the Form tab. On the form tab, click on Hidden Values. Add a hidden value named "submitChange".
Now we're ready to publish and try it out.
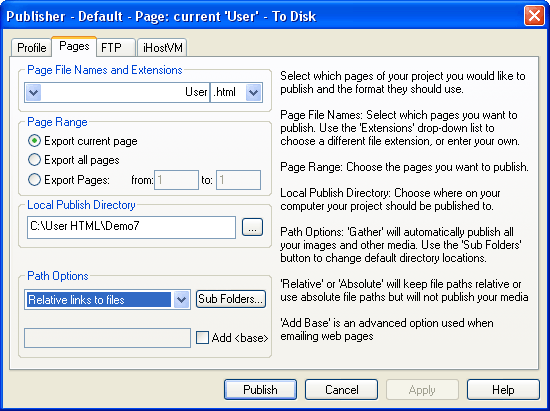
When publishing our project, remember to select "Relative links to files", otherwise the graphic will appear as a broken link when our page is loaded into the server.
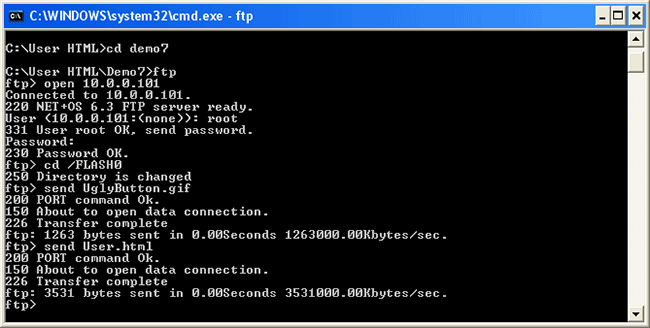
Since this demo includes a graphic file, remember to load both the User.html file and the graphic file (ours is UglyButton.gif) when using FTP to send the page to the server.
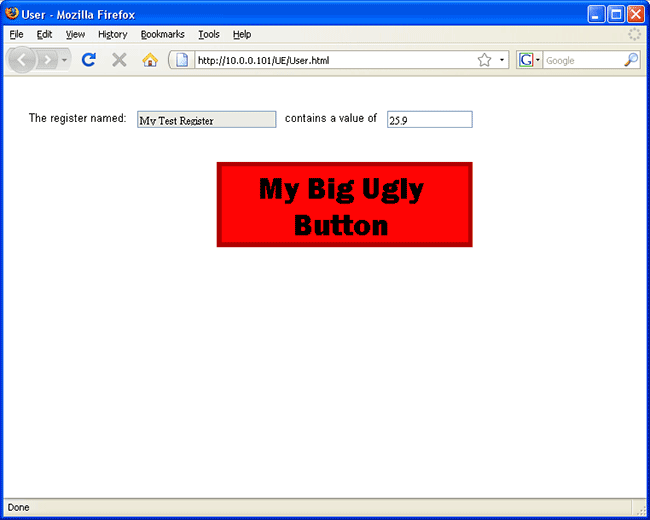
The resulting page will look something like this. Enter a number in the text box, click the graphic, and you should see it work just like the original submit button.
Article ID: 31
Created On: Thu, Sep 10, 2015 at 1:25 PM
Last Updated On: Thu, Sep 10, 2015 at 1:25 PM
Online URL: https://info.csimn.com/article.php?id=31