Demo #6: Using check boxes for input
Demo web #6 - In this tutorial, we explore using check boxes as input. The same general concept applies to radio buttons, but the check box is illustrated here.
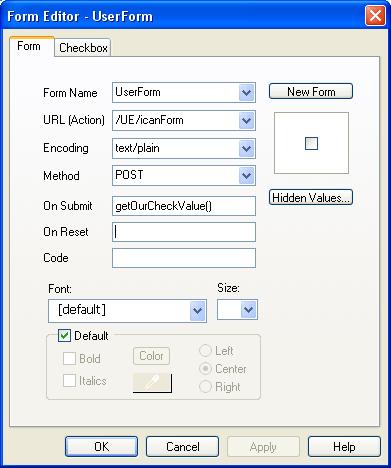
Open a new SiteSpinner project, and place some text, a text input box, and a check box from the Forms tool bar. Give the check box some arbitrary name you can remember. Give it a value of 1, although value doesn't really matter. If a box is unchecked, the browser may not send it back at all, so we are only interested in checked or not. Fill in the Form tab with all the usual items, but note one new one here. We are going to call a JavaScript function named getOurCheckValue() when the submit button is clicked.


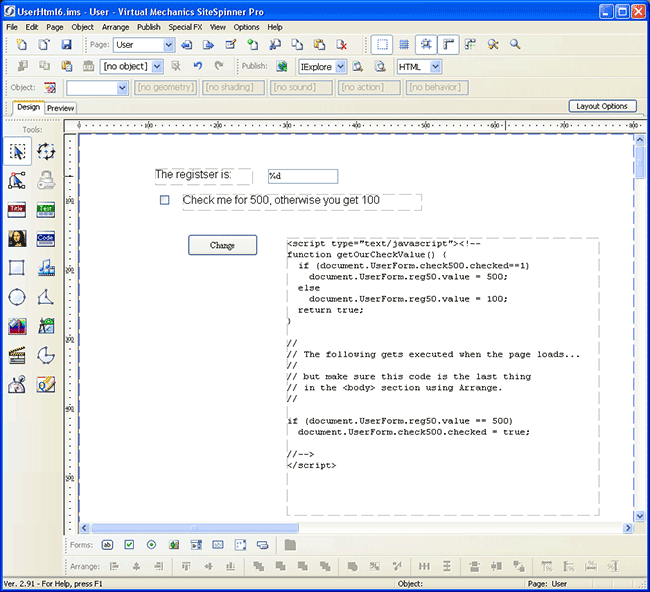
We are once again going to reference the same data register more than one way, so order will matter. Bring the check box to the front using the Arrange menu. Then, using the Code icon on the left, enter the JavaScript code shown. The function we told our form to call upon submit shows up here, and you can see how it goes about setting the register value one way or the other. The code at the very end is optional, and will result in the check box showing up already checked if the value already in the register matches our check value. Without this last little piece of code, the check box will default to unchecked every time the page is refreshed, but will function correctly when you check it again and click submit.

Just another reminder...
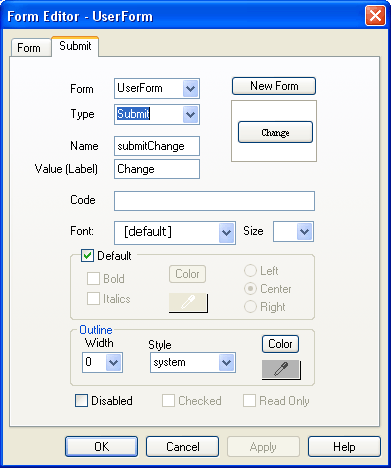
Make sure submit button is set to Submit type. It defaults to just Button, which will put a button on the screen which does not do a form submit. The plain button will do nothing unless you write some JavaScript to resond to just a button. We want a Submit type button because that sends stuff back to the server with a single click and no extra code.

Remember to edit the page properties and name the page User.html.
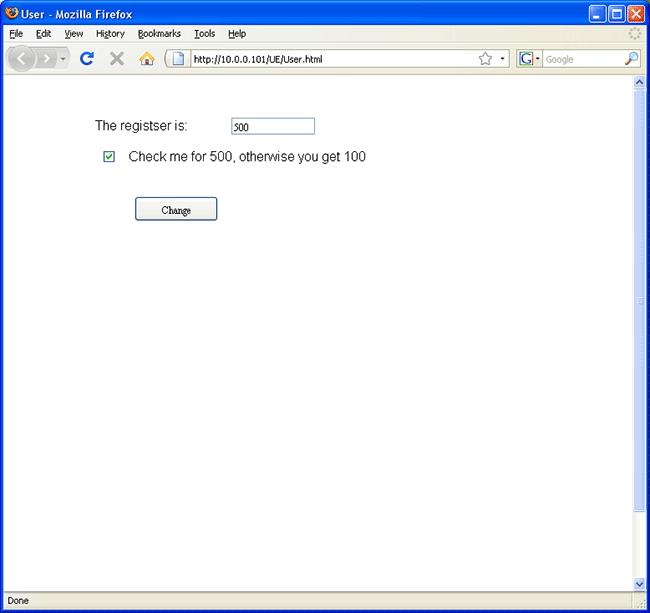
The resulting web page will look something like this, and the value shown in our text box with this example will be 100 or 500 depending on whether the check box is checked. We have only illustrated the check box here, but the technique will be essentially the same for radio buttons.

