Demo #2: Adding a Submit button to input new data on the web page
Demo web #2: Displaying dynamic data and accepting input. This tutorial takes you one step deeper into dynamic data, adding a submit button to input new data on your custom web page.
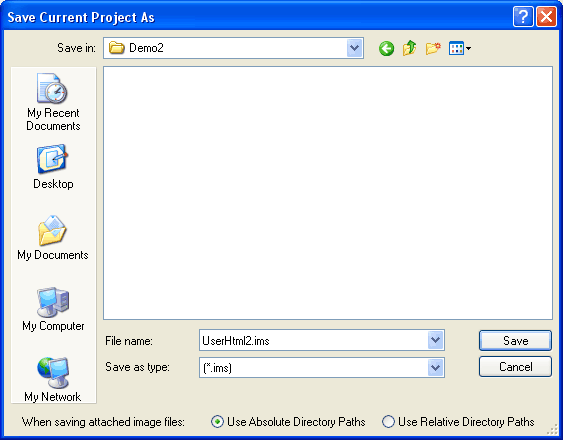
We are going to start with Demo #1, and make a minor tweak to allow us to input data on the web page. Start by saving the project as a new project.
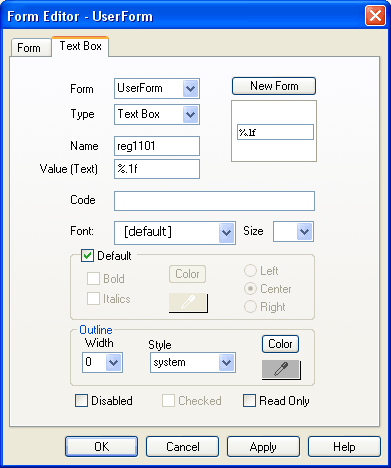
Make one minor change to the register text box. Select register 1101 instead to use a register not allocated to hardware on the i.CanDoIt server. If you try to input data to a register associated with a hardware input, the data will get continuously overwritten by the hardware value.
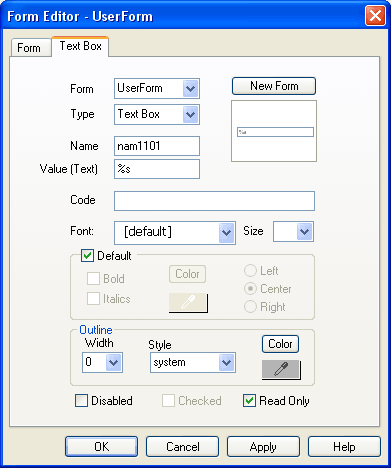
Make the corresponding register number change in the name text box. We want to make one additional change here. Check the Read Only box to prevent just anyone from changing the name of this data point.
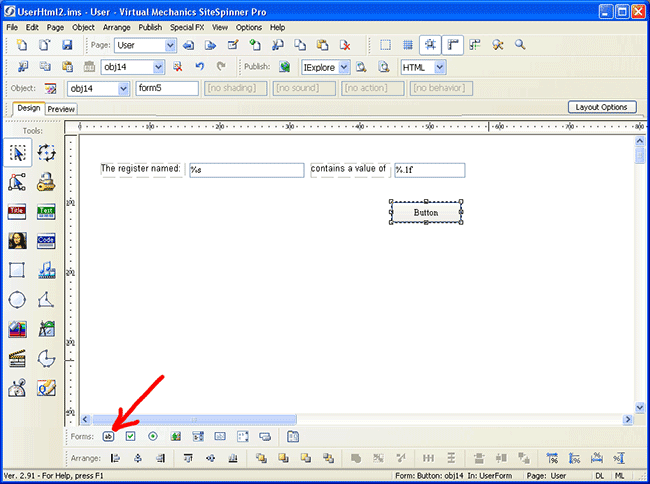
At this point, you are ready to add the Submit button. Click the "Draw a Form Button" icon in the Forms tool bar. Drag the botton into place and click to place it.
Double click the button to bring up the form dialog below. Select UserForm from the Form list. Select Submit for type. Enter "submitChange" for name, and "Change" as the label. The i.CanDoIt CGI processor looks for submitChange=Change as its queue to process input data from the form. If you want to create an alternate button style, you need to use a button image, and use JavaScript to result in submitting the "submitChange=Change" in the post. (That's an advanced topic we'll cover later.)

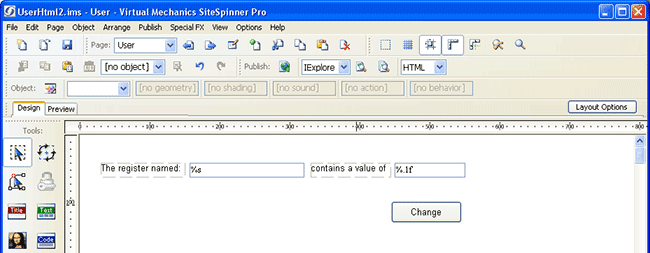
Our work space should now look something like this. Preview it just to be sure. Go through the publish and upload process learned in the previous tutorial.
Now browse to your i.CanDoIt device. Enter a new value in the value window and click Change. Refresh the page to be sure it retained your input. If the previous value returns (change not accepted), review your button configuration. Make sure it is a Submit type, etc.

